Showing posts with label Soy. Show all posts

Sunday, July 30, 2006

Playing around with soy!

I only got around to try soy and its by-products after I married and moved to the US. Never actually had soy at home, my mom didn’t cook with it, but my culinary curiosity would not let me alone if I did not try the many different ingredients I came face to face here in the US.
Among the ton of different stuff I found at the American grocery stores there was soy, in various forms, from beans and curds, to milk and cheeses. Soy burgers and even soy crumbles were on my list to try. And little by little I went trough my list and actually got to appreciate most of the previously mentioned items.
I ended up really liking soy burgers, and even more the so delicious edamame, yummy, now that is something I really love now. I also enjoyed trying tofu, and have been experimenting with it a lot lately, and decided that vanilla flavored soymilk is also delicious as well! (I use it almost daily in my fruit smoothies and blended concoctions!)
Besides my adventurous taste buds, I also got to meet, although yet only virtually, some nice girls that also enjoy soy, and that actually had a lot more experience with it and contact with soy through out their life. Karen and Akemi were the ones that inspired me to get my hands on some soybeans and get to work with them at home!
So, after reading their posts, seeing their nice pictures, and drooling over their baked goods at their blogs, I went ahead and adventured myself in some soy experimentation this past week. And it was so worth it!
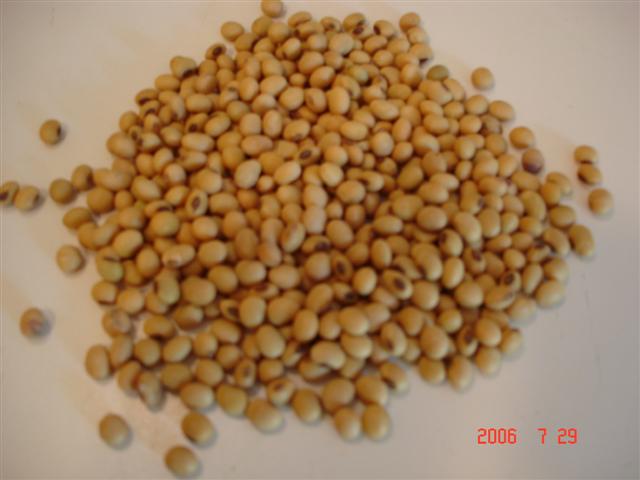
I had the beans for some time, having bought them thinking about cooking them myself, but they ended up being transformed into soymilk, and the residue that was left over from the milk production, called okara.
Homemade soymilk, Wow, even I can’t believe I made that myself yet. It came out good, and even thicker than the ones I buy at the store. Now, I won’t lie here, I do not really enjoy the soymilk “as is”, so to suit my tastes it does have to be sweetened, or flavored with cocoa (or nesquick), then I can call it good stuff!
With the milk I got a bonus: the okara; basically the processed soybeans that was leftover after being cooked for the milk making procedure. From what I found out, the okara is very nutritious, so I went ahead and followed the lead of my friends and tried out Akemi’s recipe for Okara Bread. And Oh Boy, now this was good!
I made little rolls with the recipe (just so that it would be easy to freeze), and they came out super moist and delicious, both my husband and my son loved the bread and we all came to a consensus declaring that this was one of the best recipe for rolls that I have made. It was just perfect warm out of the oven with a little butter, good, really good!
Here I am again sneaking soy into the boys, sneaking yes, because I never mentioned the okara being in the bread, of course!
I am not sure I will make soy milk again (just because I really like the one I get at the store!), although I will definitely look for the ready okara at Asian markets in order to make more bread and try out more recipes with it, but this was definitely worth trying, the whole process, very fulfilling to my culinary enrichment. Learning new things is always good to me, especially when there is some cooking involved!
So here I leave you with Karen’s recipe for soymilk and Akemi’s recipe for the okara Bread. Thank you guys, both for leading me out to such good food experience!
Ana


Karen’s Soy Milk

300 grams soybeans

About 3 liters water

Soak the beans in water overnight; they will soften and get swollen.
On the next day put 1 liter of water in a big pan and bring it to a boil.

While the water comes to the boil, process the soybeans in a blender, adding the water that it was soaked as necessary.

Add the processed soybean mixture to the boiling water and cook over medium-high heat, stirring frequently so that it does not stick to the bottom of the pan. When the mixture reaches the boil, turn of the heat and let it cool down in the pan. After cooled, strain the milk using either cheesecloth or a very fine sieve. The liquid is your Soymilk, and the residue left in the cloth (or sieve) is the okara.


Akemi’s Oakara Bread


For the sponge: In a large bowl combine together 10 grams dry yeast, 3 tablespoons sugar, and 1 cup warm water (100 to 110 F). Let stand for 15 minutes.

¼ cup oil
3 tablespoons sugar

1 tablespoon salt

2 cups okara

3 to 4 cups flour

Add oil, sugar, salt and okara to the sponge after it bloomed. Mix well together and then start adding flour to the mixture, ½ cup at a time, until you get a smooth dough that doesn’t stick to your hands (you may or may not need all the flour). Put the dough on a bowl, cover with plastic and let it rise until doubled in size, about 1 hour.
Shape dough into desired shape, place it on greased baking sheet and let it rise for 20 more minutes. Bake bread at 350F for 20 to 30 minutes, depending on size of your bread.
Note: I baked mine in muffin tins and it took 20 minutes total. Also, the recipe did not say anything, but I brushed my rolls with egg wash before baking.
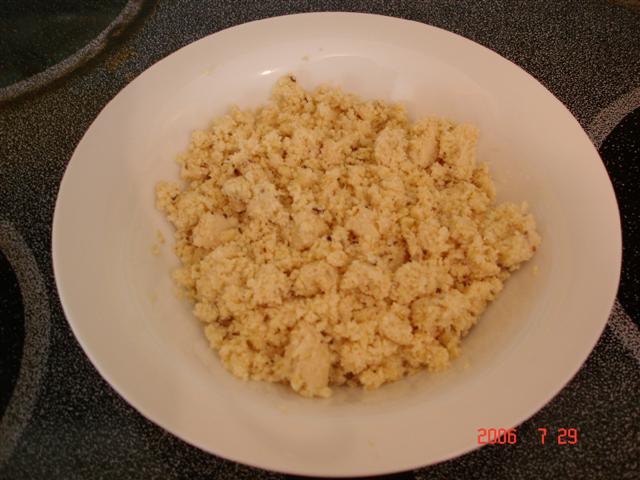
Here is the "okara"

Wednesday, July 26, 2006

Two baked recipes

It is summer here, however, yesterday was one of those boring rainy days and we ended up staying home for most of the time (did a quick trip to the grocery store in between showers though!).
And you know, when you stay at home for too long you start to look for something to eat, right? Or, at least I am like that… and in my case I look for something to cook.

With lots of time to get our meal ready, I decided to get a couple recipes I wanted to make and give them a try. And since it wasn’t ultra hot I turned the oven on.

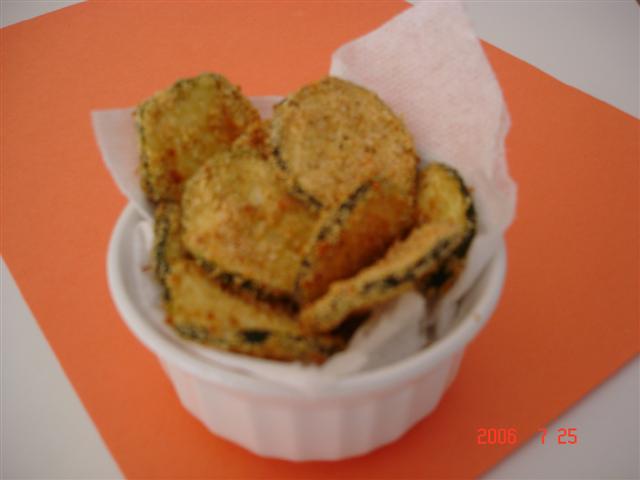
Zucchini Oven Chips were a delicious side dish, which both Matheus and I liked it a lot! In fact, Matheus liked it so much that he started to pile them in his plate, even before finishing eating his fare, when he saw they were almost gone. The “chips” were super tasty with the crumb coating, but didn’t actually turn out very crisp. Well, crisp or not they were really good and there were none to tell history. A nice change to the vegetable side dish, tasty and yummy, will be made again pretty soon with the abundance of cheap zucchini we can buy during the summer!

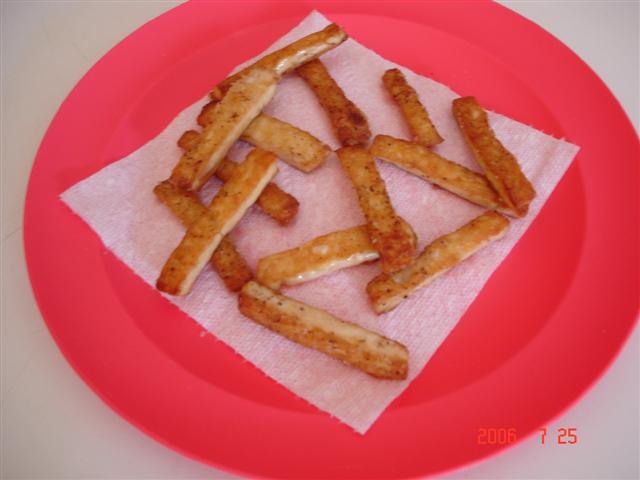
Baked Tofu Sticks were another of my recently experimentation with tofu. These were super simple and easy to make and quite tasty too! I liked the fact they were baked, since my previous success involved pan-frying them, which was not bad healthy wise, but did a lot of splattering around the stove.

My tip for these is to not cut them too thin, unless you want them to be really crispy/crunchy. Some of mine were thin and got over browned, ending up almost like french fries. Sounds good, I know, but I was actually aiming for a more “meatier” texture, like a slightly crispy crust with a chewier inside. Plus, I ended up over doing the seasoning and our sticks were a little salty, but all of this won’t happen next time, after all, as I said this was the first experimentation, so there is going to be a next time for sure!

We had the chips and the sticks with macaroni & cheese, and Matheus was in heaven! A fun meal and two more tested recipes, at the end it was not bad having a little rain after all!

Ana

Zucchini Oven Chips
1/4 cup dry breadcrumbs
1/4 cup (1 ounce) grated fresh Parmesan cheese
1/4 teaspoon seasoned salt
1/4 teaspoon garlic powder
1/8 teaspoon freshly ground black pepper
2 tablespoons fat-free milk
2 1/2 cups (1/4-inch-thick) slices zucchini (about 2 small)
Cooking spray

Preheat oven to 425°.
Combine first 5 ingredients in a medium bowl, stirring with a whisk. Place milk in a shallow bowl. Dip zucchini slices in milk, and dredge in breadcrumb mixture. Place coated slices on an ovenproof wire rack coated with cooking spray; place rack on a baking sheet. Bake at 425° for 30 minutes or until browned and crisp. Serve immediately. Yield: 4 servings (serving size: about 3/4 cup)

Cooking Light, August 2005.


Baked Tofu Sticks (adapted from Martha Stewart’s website)
Firm tofu
Olive oil
Salt and pepper to taste

Cut tofu into sticks, put sticks on a double layer of paper towels, cover with more paper towels (you can out something on top to make some weight at this point) and let stand until tofu has released extra liquids, 20 to one hour.
Preheat oven to 375F. Cover baking sheet with foil and brush it well with olive oil (don’t want the tofu to stick to it!). Arrange tofu sticks on baking pan, sprinkle with salt and pepper to taste. Bake until both sides are crisp and golden brown, about 12 to 15 minutes per side.

Saturday, July 22, 2006

Super yummy salad!

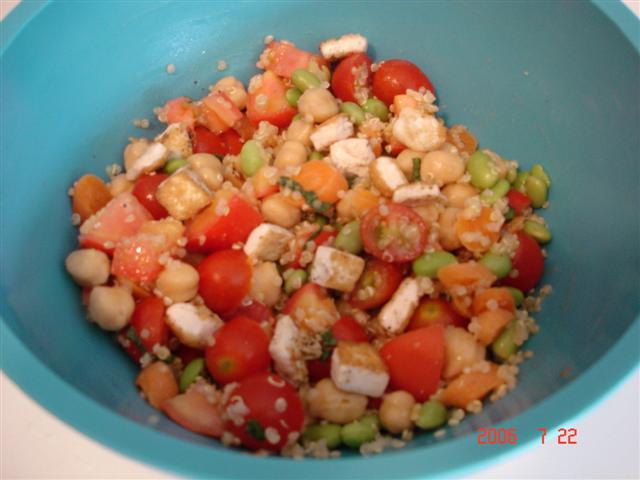
This was one of the best “complete-meal-salad” dishes I have ever had! Deliciously nutty quinoa is paired with tomatoes, chickpeas, carrots, edamame, and a delicious basil-lemon dressing to complete the goodness! Even tofu was added to the mix, and I was so happy, because this was my most successful attempt to prepare tofu for savory dishes! Yessss! Now we are definitely going to have tofu more often, because Matheus and me really liked it! (The husband tried, said it was good, and when I said it was tofu he did not eat it anymore… men, hopeless, I know… sigh)
The basil-lemon dressing is one of the best salad dressings I have had in a while, I usually make a variety of vinaigrettes to go with our salads, using different kinds of vinegar and all, but this one is super simple and the flavor is just unbeatable, the best in my opinion and for sure is going to be made many and many more times at our home!
It is an amazing salad, complete with vegetables, carbs, and protein; a perfect one-dish meal for the hot summer days, I truly enjoyed it today and could not wait to come post it here!
The original recipe called for black beans, which are not my favorite, and since I loooove chickpeas I used it instead. I also subbed edamame for lima beans, not only because I didn’t have them, but also because I love edamame, and I guessed thee flavor would go well here - and it did!
I am posting bellow my adapted recipe, it was so successful as is that I don’t want to change a thing! And in case you would like to see the original recipe, take a peek at the Cooking Light website and it will be there for the black beans lovers too! Hehe!
By the way, if you are not a tofu fan I am pretty sure this would be just as tasty with some cooked chicken in its place - gotta try it that way too!
Ana

Quinoa and Chickpea Salad with Basil Lemon Dressing
3/4 cups uncooked quinoa
1 1/2 cups vegetable broth
½ package (7-ounce) firm tofu, cut into 1/4-inch cubes
1 1/2 tablespoons olive oil, divided
1/2 cup chopped fresh basil
1 tablespoons fresh lemon juice
1 tablespoons Dijon mustard
1 small garlic cloves, minced
½ cup cooked edamame

2 cups chopped tomatoes
1/4 cup chopped carrot (I blanched mine)
1/2 (15-ounce) can chickpeas, rinsed and drained
Salt and pepper to taste

Bring quinoa and broth to a boil over medium-high heat. Cover, reduce heat, and simmer 15 minutes or until broth is absorbed and quinoa is cooked. Remove from heat.
Place tofu on several layers of paper towels; cover with additional paper towels. Let stand 5 minutes. Heat 1-tablespoon oil in a large nonstick skillet over medium-high heat. Add tofu; sprinkle with salt and pepper. Sauté tofu until lightly browned (about 8 minutes or so). Remove from heat and let cool.
In a small bowl mix 1/2-tablespoon olive oil, basil, lemon juice, mustard, and garlic. Stir in quinoa. Add the edamame, tofu, tomatoes, carrots, and chickpeas to quinoa mixture; stir to combine. Keep in the fridge until ready to serve.

Yield: 5 servings (serving size about 1cup)